Home screen
To obtain the data for the Uptimai Solver, these need to be passed either from the database or an external software. Especially for the latter case, it is necessary to exchange information (e.g. input parameter coordinates as function arguments) between these two programs. This is the task of the Automation, which also provides logging of command line messages from both the external software and the Uptimai Solver.
How to use the interface#
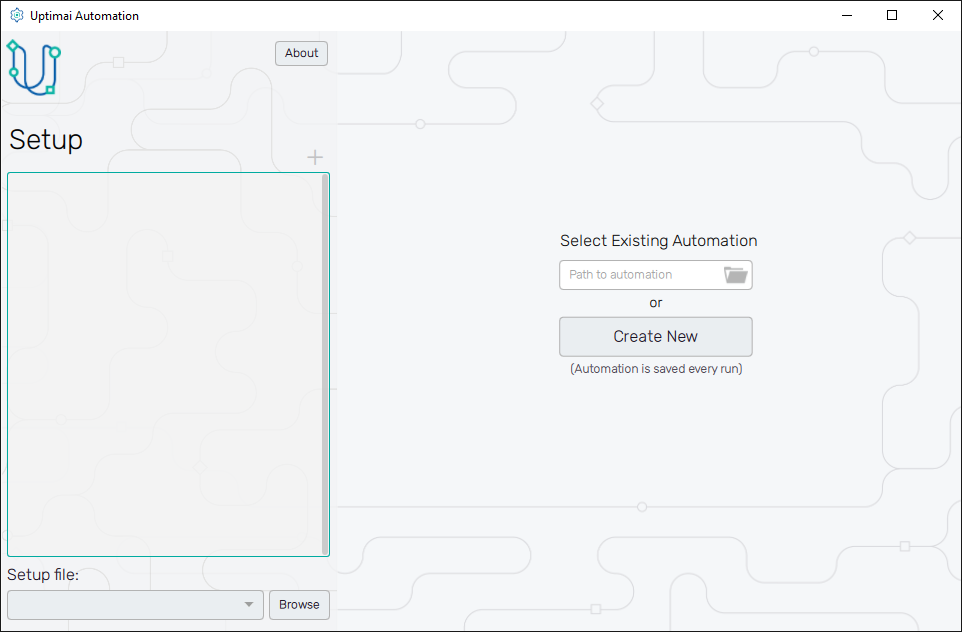
The initial appearance of the program can be seen in Figure 1. If there is
no automation run set yet for the project, it needs to be created through the Create new
button. Then, users can name their *.automation file. There can be more than one *.automation
file in the project folder, e.g. for different Core Solver methods. The user can switch the file
with the Select Existing Automation dialogue.
Once the automation run is selected, the user can focus on the Setup section on the left. On the very top of it, there is the About button showing the menu dedicated to accessing the link to this document (Help), contacting Uptimai company to get support (Company), and showing the information about the currently installed version of the program (Version). The button X underneath closes the current automation run without saving and brings the user back to the initial screen.
At the bottom of the section, close to the edge of the window, there is a drop-down menu showing
setup *.json files available in the project. Be aware that only setup files created in the
Core Solver Setup can be listed since these are logged in
the project's *.uptim file. In case no file was found, the user can choose one manually using the
Browse button, but this selection will be valid for the current run only. Special attention
must be given to files outsourced from other projects to prevent failures due to e.g. different
numbers, naming of variables, etc.
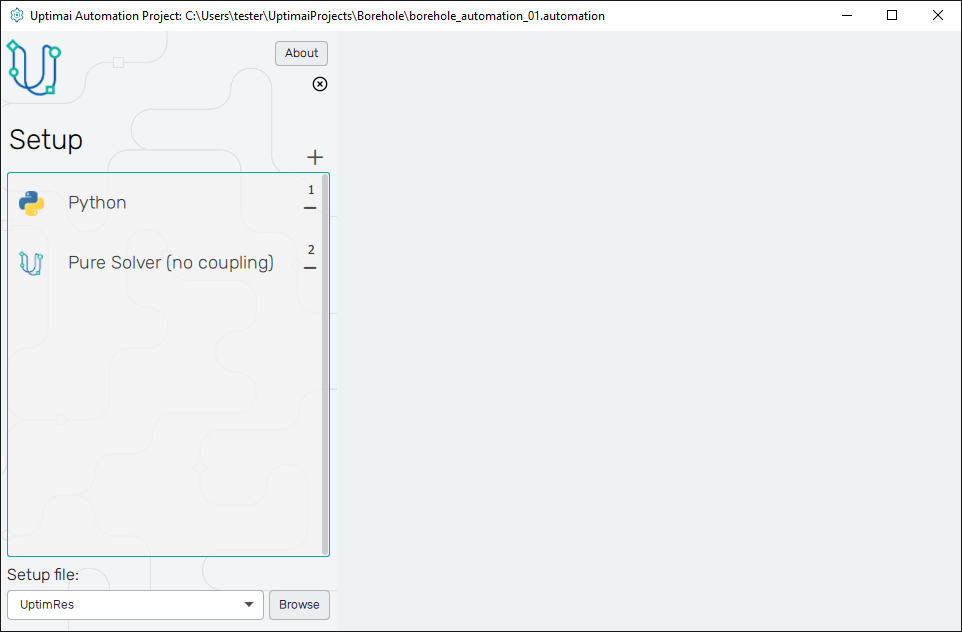
The central framed part of the Setup section is a container for connected scripts and the method to be executed. These are being started in order they are present in the list. Each connection is added via the + icon on the top of the frame. Figure 2 shows the example with two connections already in the container. It can be important to execute these in an exact order, which can be changed by the user at any time just with mouse-dragging of list items. The - icon of each item removes it from the list.
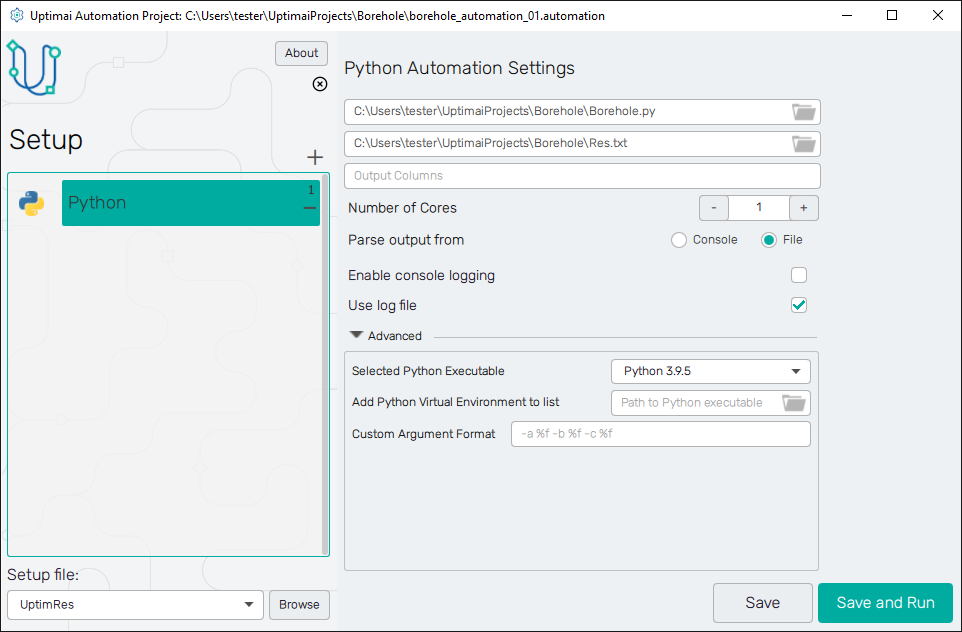
Each type of connection interface has its own settings described in the Connection types document. These controls appear on the right from the Setup list, as depicted in the example in Figure 3. Changes in settings have to be saved with the Save button to take effect and to be kept when switching from one item in the connection list to another! Once the user is satisfied with the settings of all connection interfaces, the button Save and Run will move the process to the next step shown in Figure 4. Controls of the Uptimai Solver appear on top of the window, there are two buttons and a status icon.
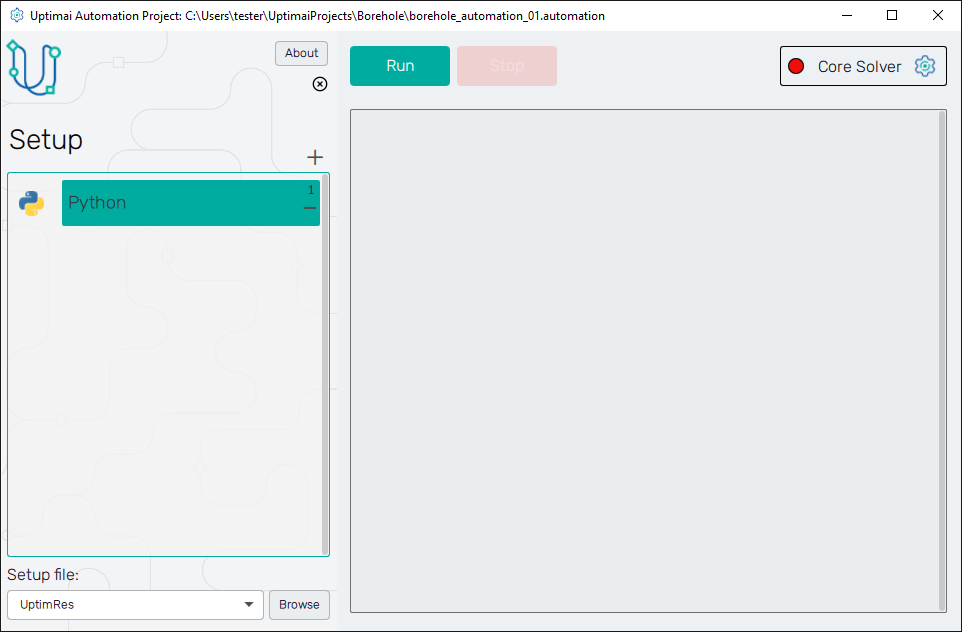
Clicking the Run button starts the process, where the Uptimai Solver either reads the data or
creates the DataToProcess.txt file for connected external scripts. These are executed in the order
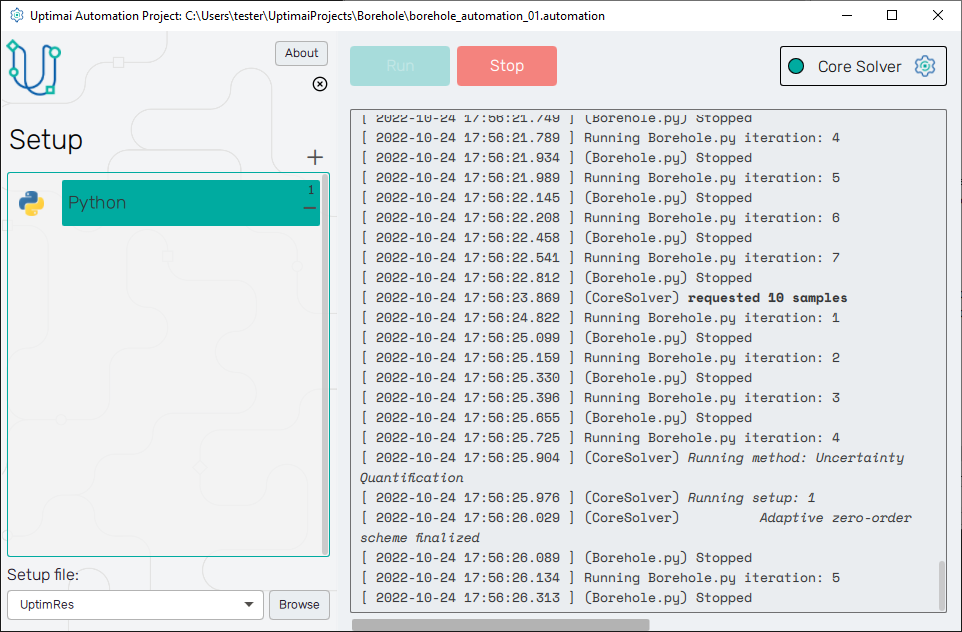
shown in the Setup section of the GUI. When the process is running, The user is informed by the
status icon turning green. The user can see messages of the Uptimai Solver and external scripts
(based on settings) in the main frame of the GUI (Figure 5). Also, the Stop button is enabled to be used.
The Stop button does not all running processes immediately when external scripts are working,
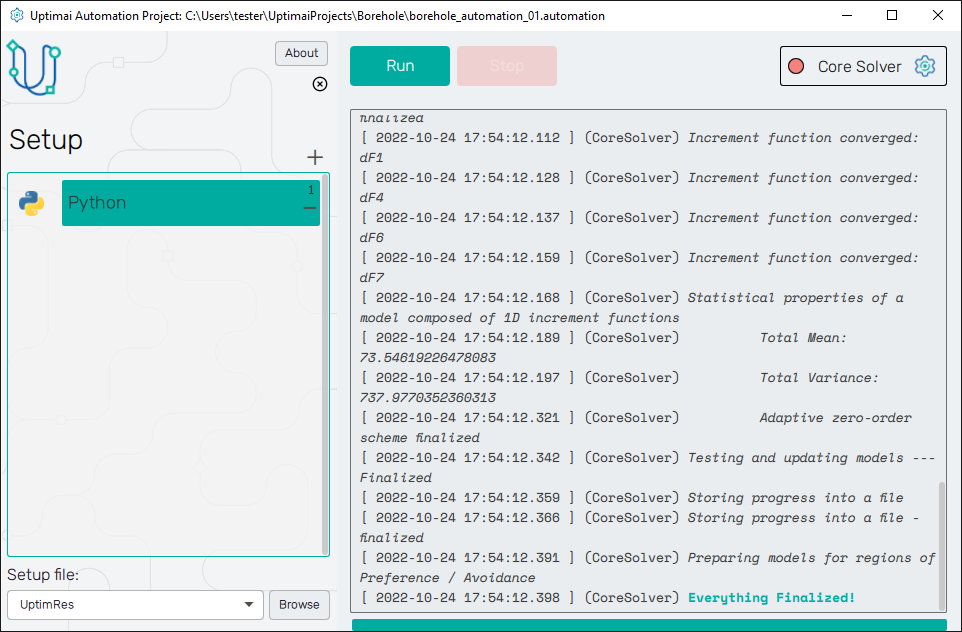
but prevents the Uptimai Solver from proceeding with another iteration. When everything is
finished on the side of the Solver, buttons and the status icon return to their initial state
and the final message "Everything finalized" appears at the end of the message log
Figure 6.