Plugins
Plugins are a specifically designed interface to allow the user a straightforward integration
and conversion of their data to the *.csv format that Uptim.ai software needs. It is used in
complex cases, in which there needs to be some kind of data preprocessing and refining before
uploading it to the software, and allows to potentially skip all the Preprocessor phases.
Nevertheless, as its usage is completely dependent on the problem, a specific plugin must be
generated first for each case.
How to use the interface
For using any plugin distributed by Uptim.ai, first, it needs to be downloaded from the
Uptimai website -> Member Area -> Download -> Software folder. All the plugins for a Windows OS,
have the extension *.pmw, and for a Linux OS have the extension *.pml.
Once downloaded, it is recommended to store it in a known located directory together with other
future / past plugins.
In general, all plugins will be accessed directly from the Uptim.ai software -> Input Preprocess feature.
- Open Input Preprocessor
- Select Method -> Create Input
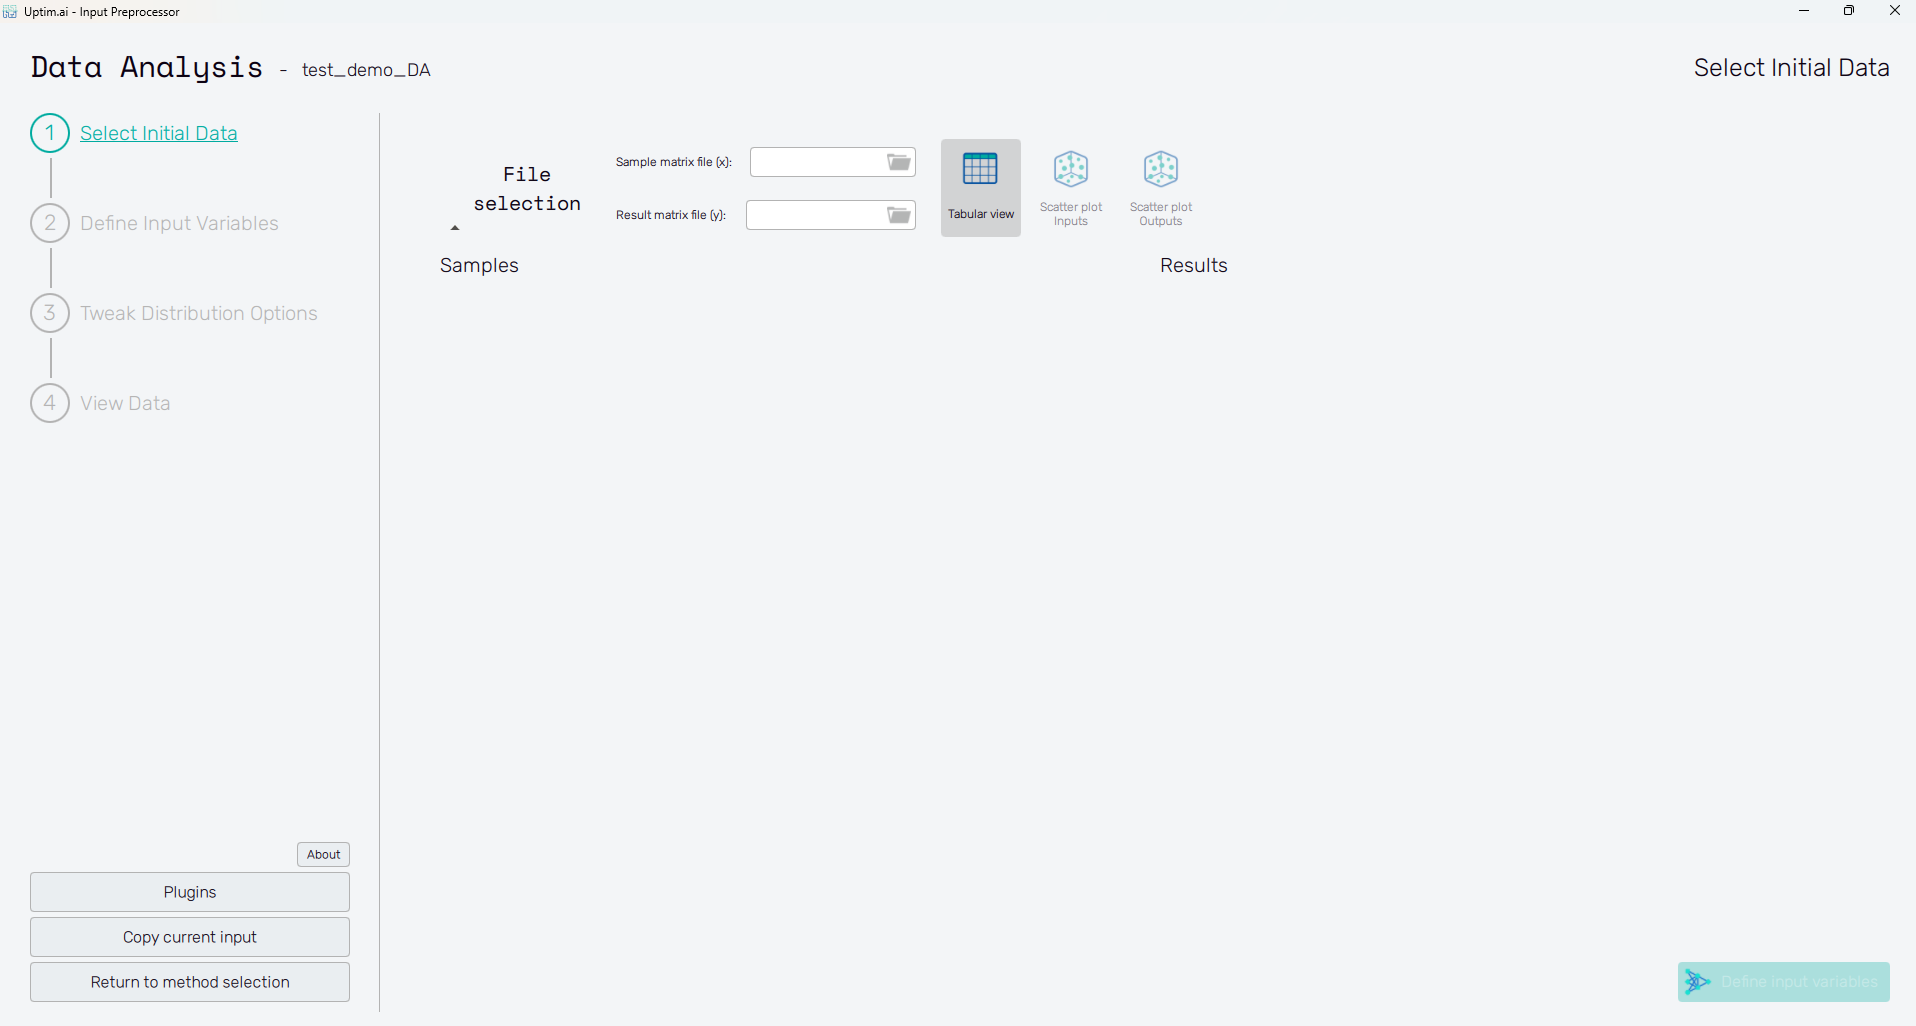
- Select the Plugins button (bottom-left) in Figure 1
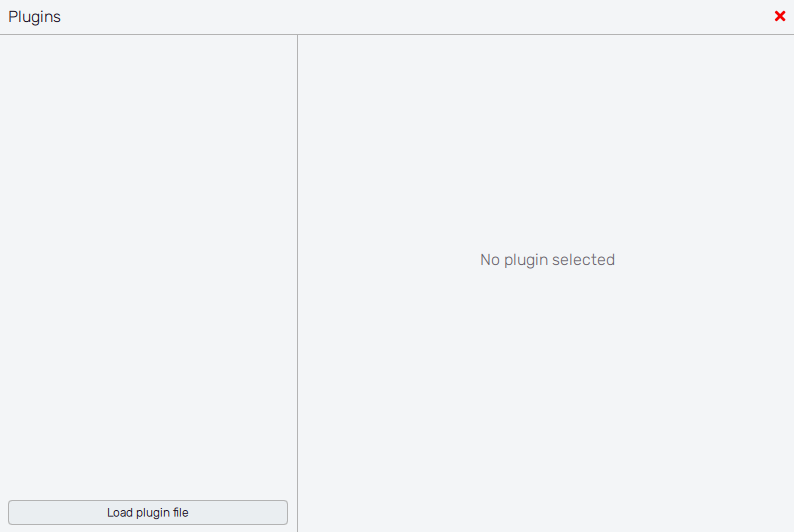
- Load plugin file (only needs to be done once, after that the used plugin will appear under
the Recently used plugins) - Select the
*.pmw/*.pmlfile
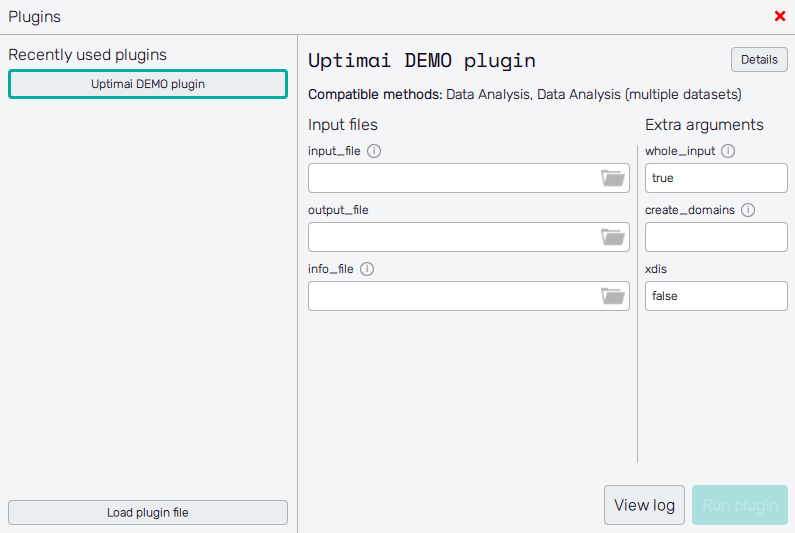
From here each plugin will be slightly different depending on the inputs that it needs. Nevertheless, in general, there are two sections that must be filled. The first one is regarding Input files (path to files that have some relevant information), and the second one is possible additional arguments to send.
For all the arguments to be filled in, there is an information mark that gives you the details about what is expected to be there, together with the Details button (top right in Figure 3) that gives you a brief explanation of the plugin itself.
When all the necessary information is completed, the Run plugin option will be activated.
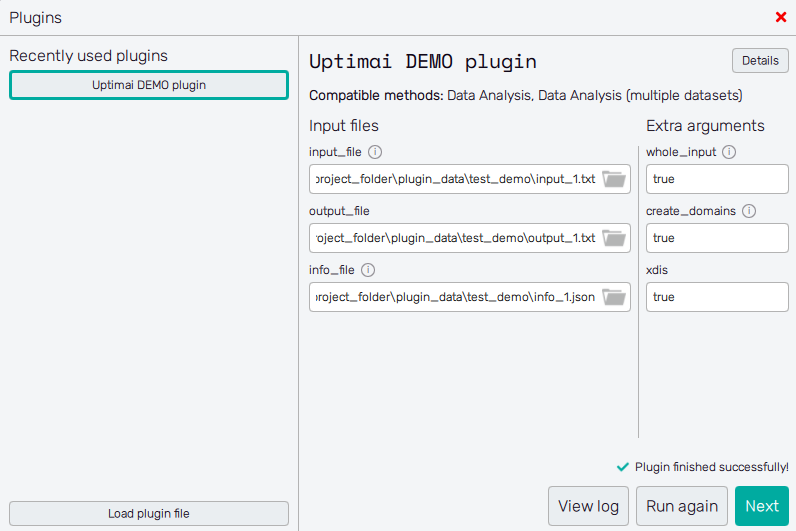
Once the project is running it is possible to see all the progress in the View Log button which will open an additional window with real-time information about the plugin process.
When the process is finished, the Next button will appear which sends us to the following screen (Figure 5). In there, it shows the files that have been generated (still in a temporary directory), which can be seen with the View files button. When clicked the Import Input button, these temporary input files will be imported to the project folder, and the software will automatically reconnect to the Preprocessor (the state of the preprocessor, will depend on the plugin, and could be already at the end, or at the middle of the process if some additional information is necessary, only depending on the plugin itself).
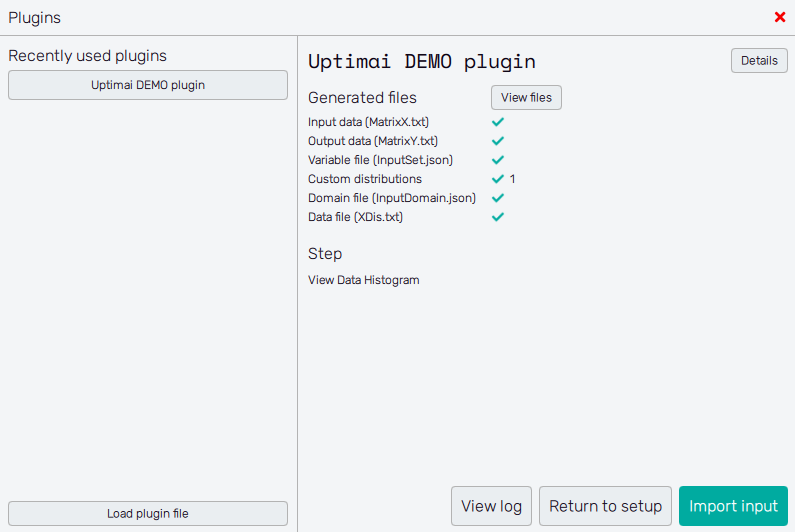
Lastly, the Return to setup button (Figure 5) allows you to go back one step, and to modify the arguments on the plugin if some error is detected.